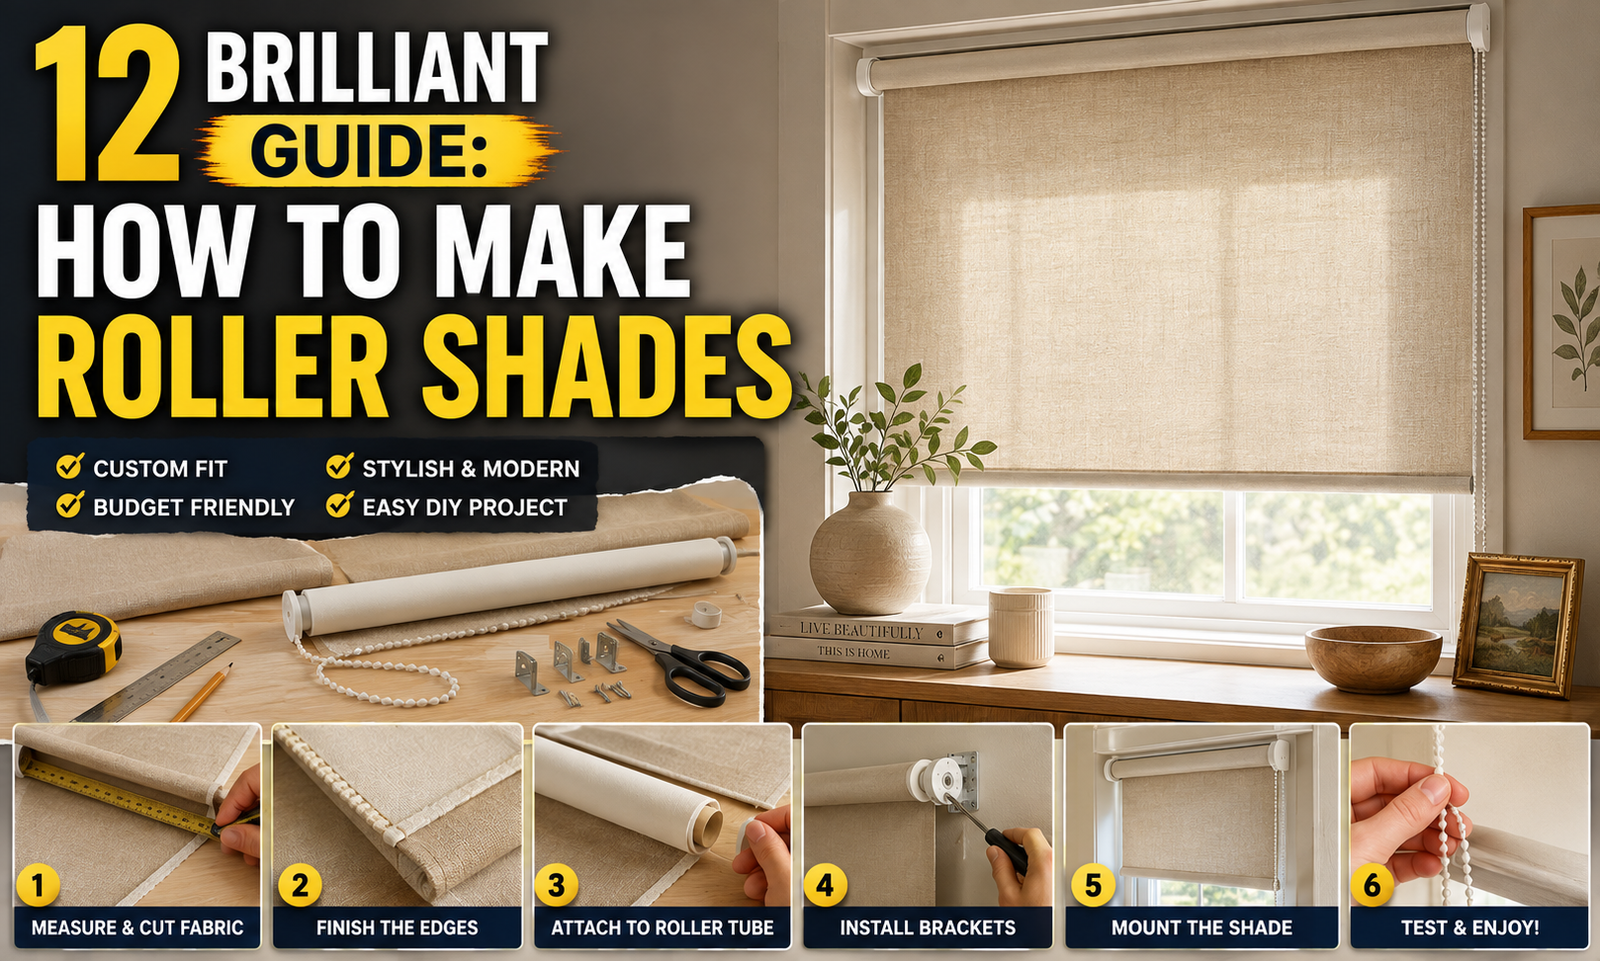
Learning how to make roller shades is a practical way to create window treatments that match your home’s style, colors, and dimensions. Custom shades can be surprisingly simple when you choose the right fabric, measure carefully, and plan the mounting method before starting. You can create a clean minimalist look with neutral fabric or add personality with a subtle pattern. Homemade roller shades are also useful when standard window treatments do not fit your windows properly. With thoughtful preparation and careful finishing, a DIY shade can look polished and professionally made.
How to Make Roller Shades With the Right Materials
Before you learn how to make roller shades, gather everything needed for the project. Depending on your chosen design, you may need fabric, a roller tube or suitable shade mechanism, mounting brackets, a bottom rail, measuring tools, scissors, fabric adhesive or sewing supplies, and a drill for installation. Choose materials that are compatible with your window size and the shade mechanism you plan to use. If you are reusing an existing roller mechanism, inspect it carefully before beginning. Having everything prepared will make the project easier and more organized.
How to Make Roller Shades by Measuring the Window
Accurate measurements are one of the most important parts of learning how to make roller shades. Measure the window width at multiple points because frames are not always perfectly square. Also measure the height from the intended mounting position to the bottom of the window. Decide whether the shade will be mounted inside the window frame or outside it. Record your measurements clearly before cutting any fabric. Double-check them because even a small mistake can affect how smoothly the finished shade operates.
How to Make Roller Shades With Beautiful Fabric
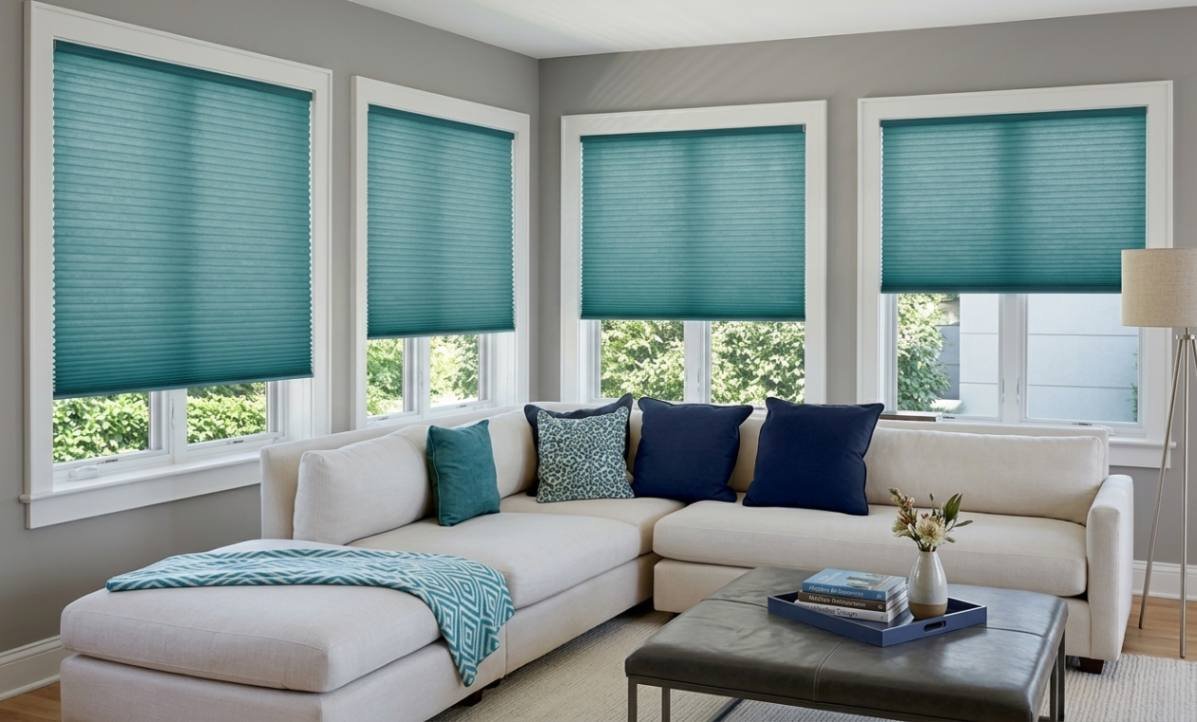
The fabric you select can completely change the appearance of your finished shade. Lightweight fabrics can create an airy look, while heavier materials can provide a richer appearance and greater privacy. Neutral linen, cotton, canvas, woven textures, and subtle patterns can work beautifully in modern interiors. Consider how the fabric looks in both natural daylight and evening lighting. If privacy or light control is important, choose a material specifically suited to those needs rather than selecting fabric based only on appearance.
How to Make Roller Shades for Light Control
When deciding how to make roller shades, think about how much sunlight you want to enter the room. Light-filtering fabric can soften bright daylight while maintaining a pleasant atmosphere. Room-darkening materials are more appropriate for spaces where reducing incoming light is a priority. Consider the direction of the window and the amount of direct sunlight it receives. A fabric’s color can also influence the visual quality of the room. Test a small fabric sample near the window before committing to the entire project.
How to Make Roller Shades With a Clean Fabric Cut
A straight fabric cut helps create a professional-looking roller shade. Lay the fabric on a clean, flat surface and mark the required dimensions carefully. Use a long ruler or straightedge to maintain an accurate line. Cut slowly rather than trying to finish quickly, especially with fabrics that can shift or fray. If the material requires finished edges, account for the necessary allowance before making your final cut. Precise preparation makes the later assembly stages much easier.
How to Make Roller Shades With Finished Edges
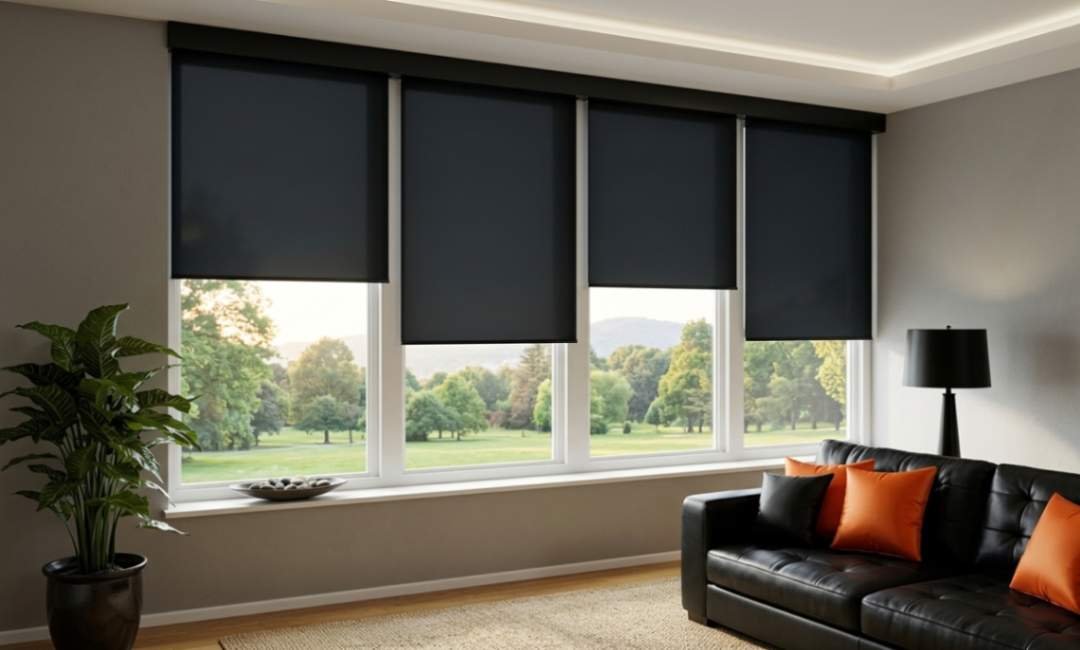
Finished edges can give DIY roller shades a cleaner and more durable appearance. Depending on the fabric, you can hem the sides or use another appropriate finishing technique to reduce fraying. Keep both sides symmetrical so the shade rolls evenly. A neat bottom edge is especially important because it remains visible whenever the shade is lowered. Press fabric carefully before finishing to remove wrinkles and help create straight lines. The goal is a smooth, consistent shape from top to bottom.
How to Make Roller Shades With a Bottom Rail
A bottom rail adds weight and structure to the lower edge of a roller shade. It helps the fabric hang straight and makes the shade easier to operate. Choose a rail that works with your roller system and fabric weight. Secure it according to the mechanism’s instructions so it remains stable during repeated use. Make sure the bottom edge is straight before attaching the rail. A properly installed bottom rail can make a simple DIY shade look significantly more refined.
How to Make Roller Shades With a Roller Mechanism
The roller mechanism is responsible for raising and lowering the shade smoothly. If you are using an existing mechanism, make sure it is compatible with the dimensions and weight of your new fabric. Follow the manufacturer’s installation instructions for any purchased hardware. The fabric should be attached evenly across the roller so it does not bunch or drift toward one side. Test the rolling action gradually rather than pulling the shade aggressively. Smooth operation is a sign that the fabric and mechanism have been aligned properly.
How to Make Roller Shades That Roll Straight
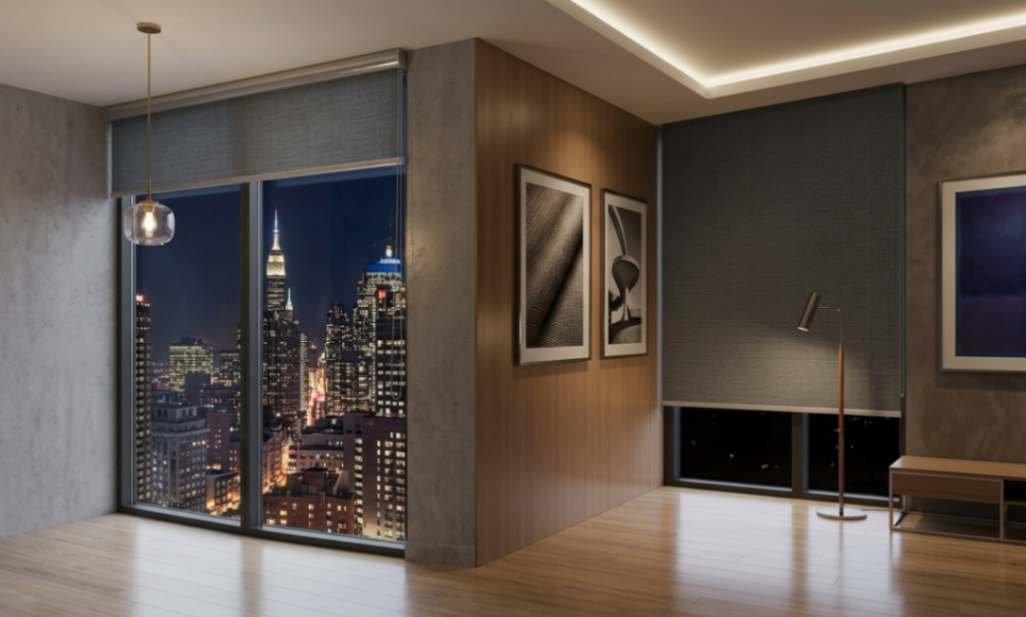
A roller shade that moves unevenly can quickly become frustrating. When learning how to make roller shades, take time to align the fabric precisely with the roller tube. The top edge should be straight and securely attached across its full width. The mounting brackets should also be level with one another. Test the shade several times while watching the fabric as it rolls. If it begins moving toward one side, stop and correct the alignment rather than continuing to operate it.
How to Make Roller Shades for a Minimalist Interior
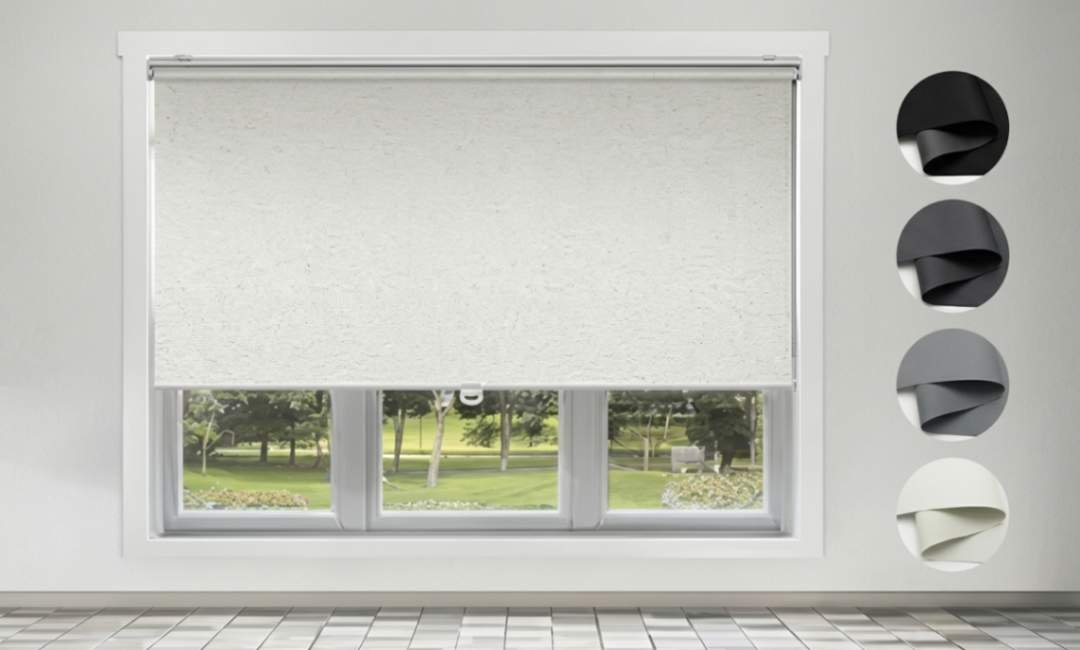
Simple roller shades work particularly well in modern and minimalist rooms. Choose solid neutral fabrics such as warm white, beige, taupe, soft gray, or natural linen. Keep the hardware visually discreet where possible and avoid unnecessary decorative elements. A clean shade can complement furniture without competing with it. For a sophisticated appearance, coordinate the shade with the room’s walls, upholstery, and flooring. Minimalist window treatments often look best when the material and proportions receive more attention than decoration.
How to Make Roller Shades for a Cozy Bedroom
A bedroom can benefit from roller shades that combine privacy, softness, and light control. Choose a fabric that complements the bedding and other textiles without making the room feel overly coordinated. Room-darkening material can be useful when reducing morning light is important. Warm neutral colors can create a relaxed atmosphere, while subtle patterns can add visual interest. Make sure the shade operates smoothly and does not interfere with nearby curtains, furniture, or window hardware.
How to Make Roller Shades for a Stylish Living Room
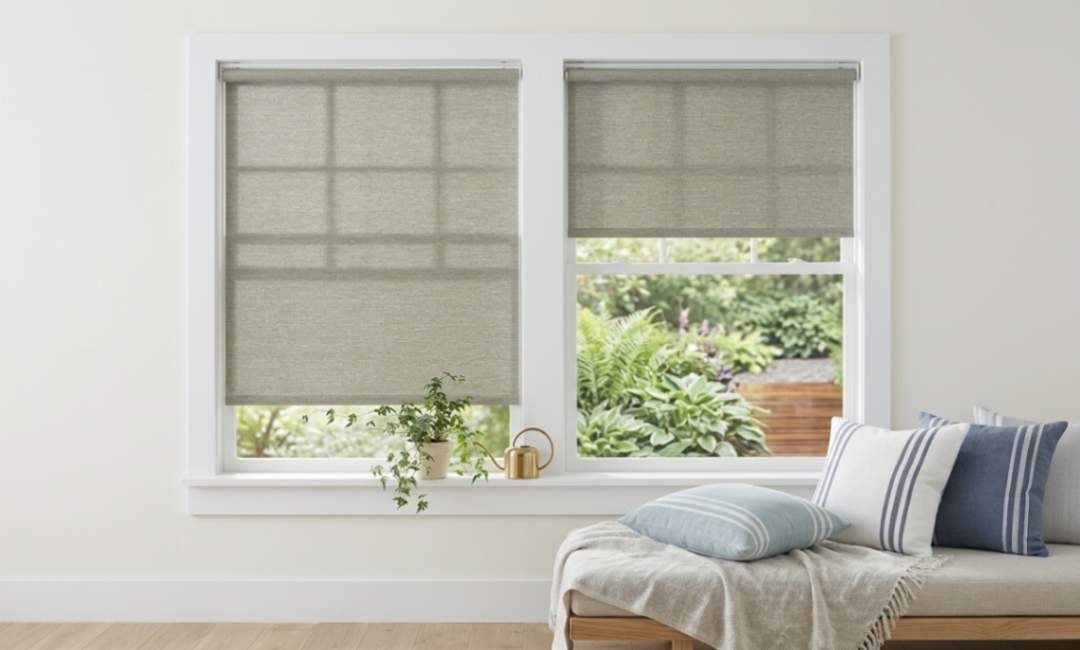
In a living room, roller shades can become an understated part of the overall interior design. Choose a fabric that complements the sofa, rug, wall color, and other major elements. Natural woven textures can add warmth, while smooth neutral fabrics can create a more contemporary appearance. If the room has large windows, consistent shades can create a clean architectural effect. Consider how the shades look when fully raised as well as when they are lowered.
How to Make Roller Shades for Small Windows
Small windows can be difficult to dress with oversized curtains, making roller shades a practical alternative. A simple shade can provide privacy and light control without visually overwhelming the wall. Measure carefully because small differences become more noticeable on compact windows. Use a lightweight mechanism and fabric appropriate for the window’s dimensions. A clean, streamlined shade can also make a small window appear more intentional and integrated into the room.
How to Make Roller Shades With Patterns
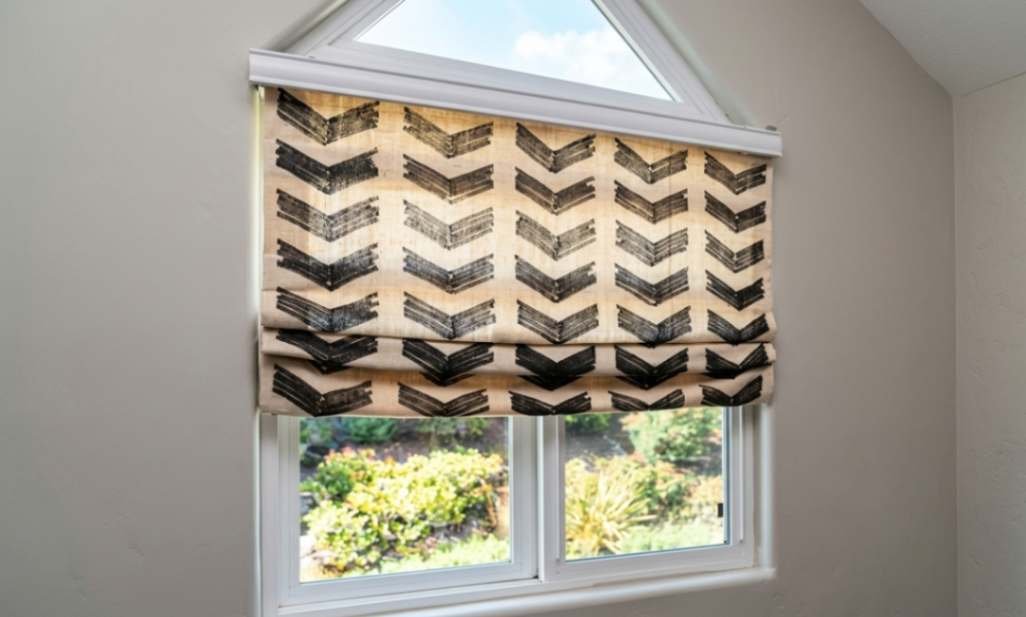
Patterned fabric can transform a simple roller shade into a decorative feature. If the room already contains bold patterns, consider a subtle geometric or botanical design. For neutral rooms, a stronger pattern can add personality without requiring additional accessories. Make sure the pattern is positioned consistently across the shade. Large motifs may need additional planning to achieve a balanced appearance. Always check a larger fabric sample before cutting to understand how the design will look when rolled and lowered.
How to Make Roller Shades Look Professionally Finished
The difference between a basic DIY shade and a polished one often comes down to small details. Make sure the fabric edges are straight, the bottom rail is level, and the roller mechanism operates smoothly. Press the fabric before assembly and remove visible wrinkles where possible. Install the mounting hardware carefully so the shade sits level with the window. Keep the overall design simple and coordinated with the room. Precision throughout the process can create a result that looks far more expensive than a typical homemade window treatment.
How to Make Roller Shades Safely
Safety matters when making and installing roller shades, especially in homes with young children or pets. Follow the manufacturer’s instructions for any operating mechanism and use appropriate safety hardware where required. Keep cords and operating components managed according to applicable safety guidance. Secure mounting brackets firmly so the shade cannot become loose during normal operation. Do not use damaged or unsuitable hardware. If you are uncertain about a mechanism or installation method, consult the manufacturer’s instructions or a qualified professional.
How to Make Roller Shades Without Common DIY Mistakes
Several simple mistakes can affect the finished result. Avoid cutting fabric before confirming all measurements, using fabric that is too heavy for the mechanism, or installing brackets at different heights. Do not rush through fabric alignment because an uneven top edge can cause the shade to roll incorrectly. Another common issue is choosing fabric based only on color without considering privacy and light control. Planning each stage carefully will help you avoid unnecessary material waste and frustrating adjustments.
Final Tips on How to Make Roller Shades
Knowing how to make roller shades gives you an affordable way to create window treatments that feel customized to your home. Start by measuring accurately, choosing appropriate fabric, and selecting a compatible roller mechanism. Pay close attention to straight edges, balanced mounting, and smooth operation during assembly. Consider the room’s lighting, privacy needs, and existing decor before finalizing your design. With patience and careful finishing, a simple DIY roller shade can become a stylish feature that adds comfort and personality to almost any room.