
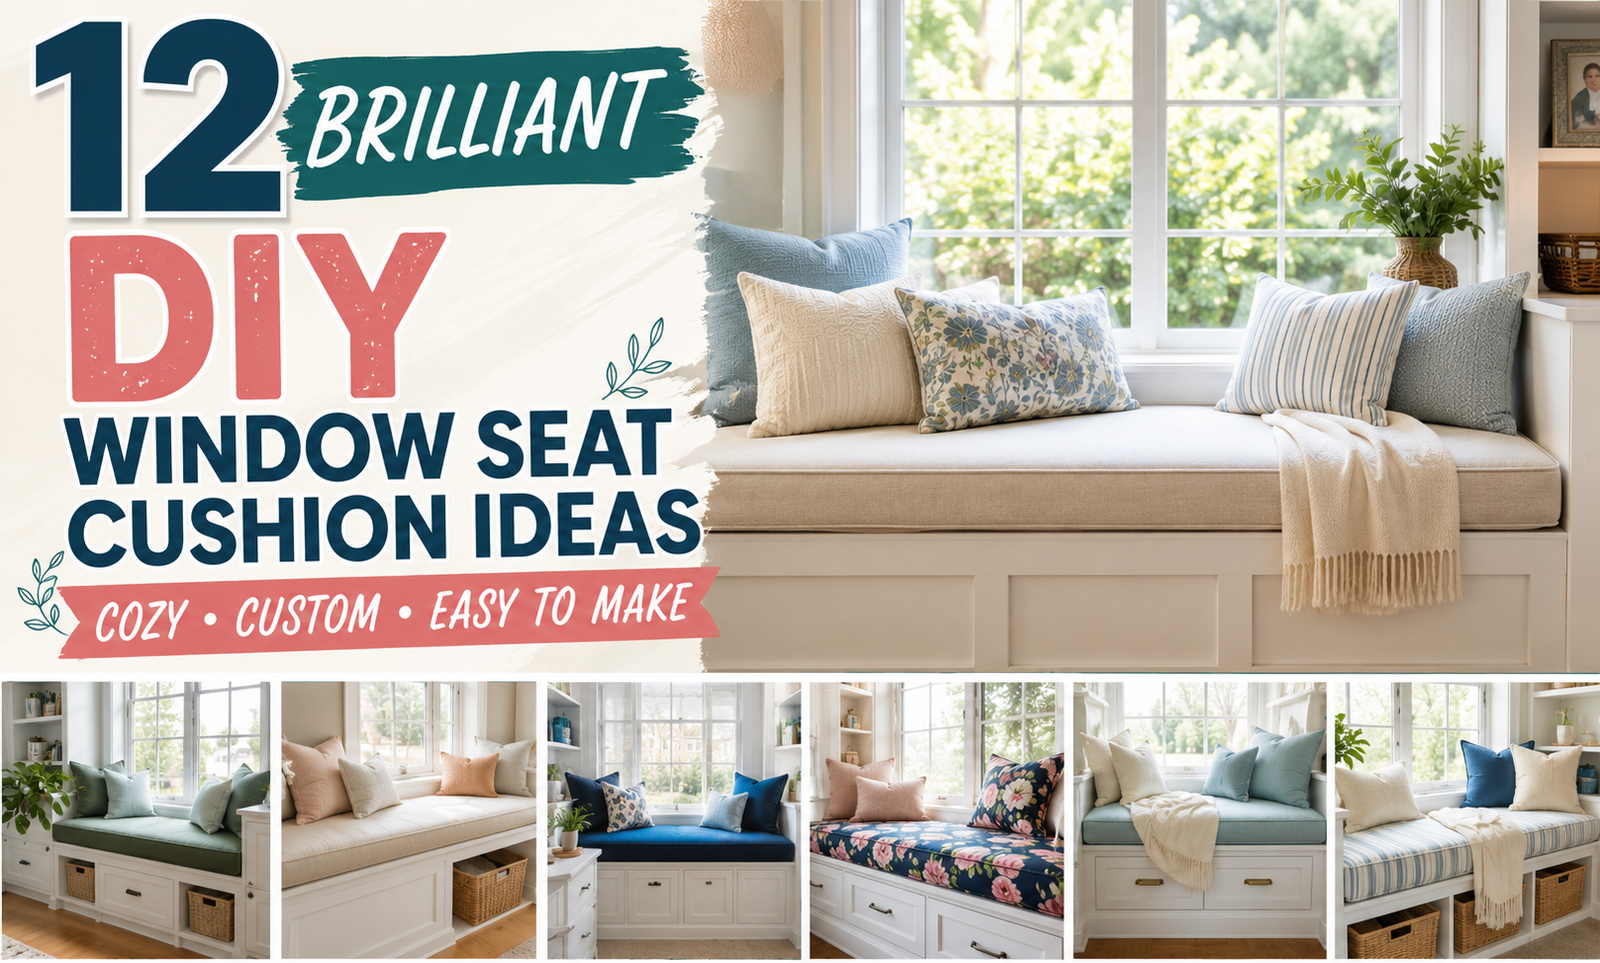
That awkward window ledge you keep ignoring? It wants to be the best seat in the house. A DIY window seat cushion is one of those rare projects that’s cheap, genuinely easy, and completely transformative. No advanced sewing, no special tools, just decent foam, fabric you love, and a free afternoon. Here are 12 ideas to get yours right the first time, from choosing foam that doesn’t go flat in a month to styling tricks that make it look store-bought.
1. Get the Foam Right (It’s Everything)
Here’s the unglamorous truth: the foam matters more than the fabric. Cheap foam goes flat and lumpy within months, while medium-density upholstery foam, about 3 to 4 inches thick, stays supportive for years. Measure your bench’s length, depth, and the height you can spare, then get the foam cut to size. Many fabric stores will cut it for you, or you can do it at home with an electric carving knife (yes, the turkey kind, it works brilliantly). A well-fitted insert is the difference between ‘homemade’ and ‘custom-made.’
2. Pick Fabric That Survives Real Life
That gorgeous white linen is calling your name, but be honest about your household. Kids? Dogs? Daily afternoon naps? Go for upholstery-weight fabric, cotton blends, or performance materials that can take a beating. Darker tones and subtle patterns hide life better than solids. And here’s the pro move: buy a little extra. You’ll want it later for matching pillows, and dye lots change.
3. Try the No-Sew Shortcut
Can’t sew? Don’t own a machine? Doesn’t matter. The envelope-style cover, basically a pillowcase for your foam, needs only straight seams you can even do by hand. For the truly sew-averse, there’s the wrap method: lay the foam on your fabric, wrap it like a present, and secure everything underneath with upholstery tacks or heavy-duty staples. Pull the fabric tight and even as you go. Nobody will ever flip your cushion over to check.
4. Master the Wrap-and-Tuck Method
This deserves its own mention because it’s the fastest path to a finished cushion, often under an hour. Center the foam on your fabric, leaving enough margin to wrap fully underneath. Fold the long sides under first, pulling snug, then tackle the corners like you’re wrapping a gift, neat hospital corners, no bulky lumps. Secure with staples or tacks on the underside. The result looks surprisingly polished, especially in a textured fabric that forgives minor imperfections.
5. Add Tufting for a Furniture Look
Tufting is what separates ‘foam with fabric’ from ‘furniture.’ Mark evenly spaced points, pull through with a long needle and strong thread, and finish with covered buttons. It suits traditional, cottage, and vintage rooms beautifully. Keep it subtle if the rest of your decor is busy. Fair warning: tufting is fiddly the first time, so practice your spacing on paper first. The payoff is a cushion that looks like it cost hundreds.
6. Sew On Ties for Easy Removal
Fabric ties at the back corners do two jobs: they keep the cushion from sliding around, and they let you whip the cover off for washing in seconds. Use matching fabric strips or grosgrain ribbon, about 18 inches long so you get a proper bow. This is especially smart if your window seat gets daily use or faces a garden (muddy paws, I’m looking at you). Removable also means you can swap fabrics seasonally without making a whole new cushion.
7. Pile On the Throw Pillows (Strategically)
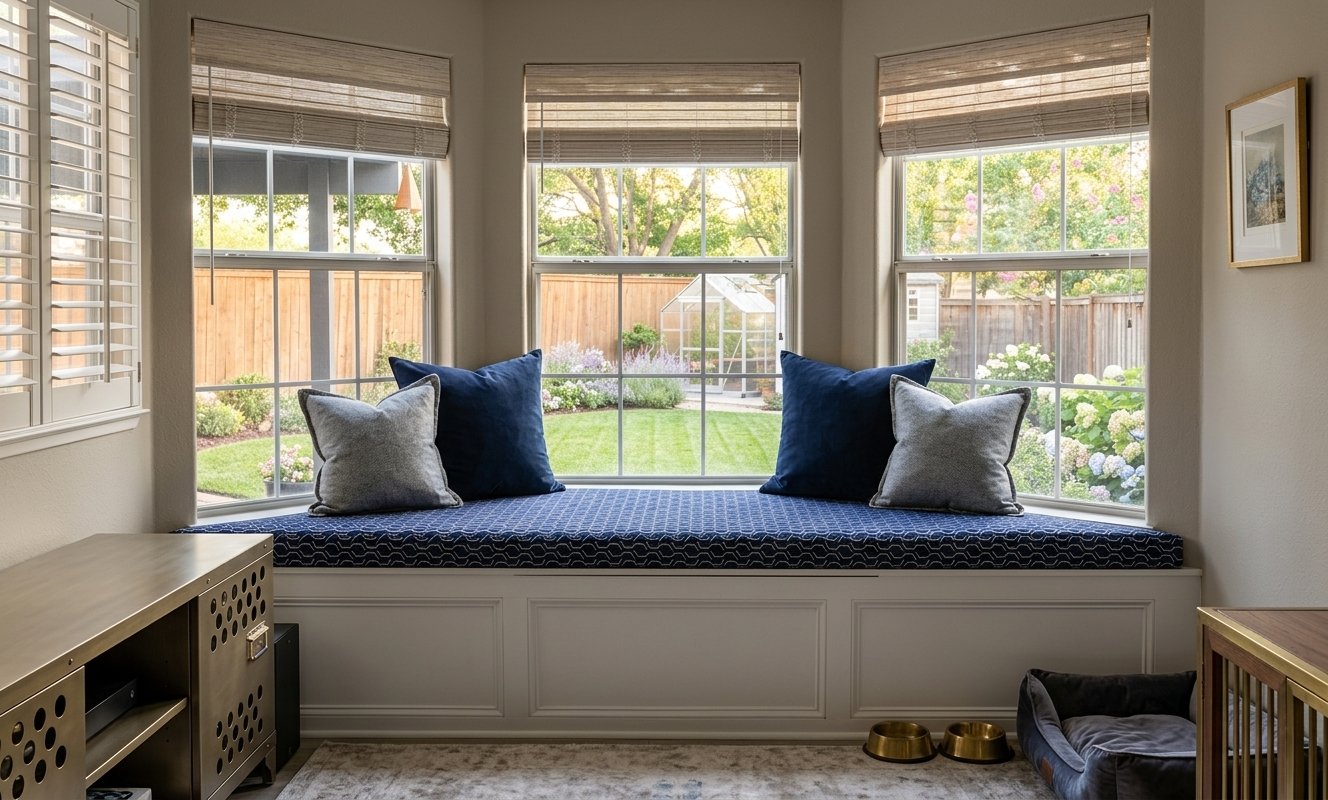
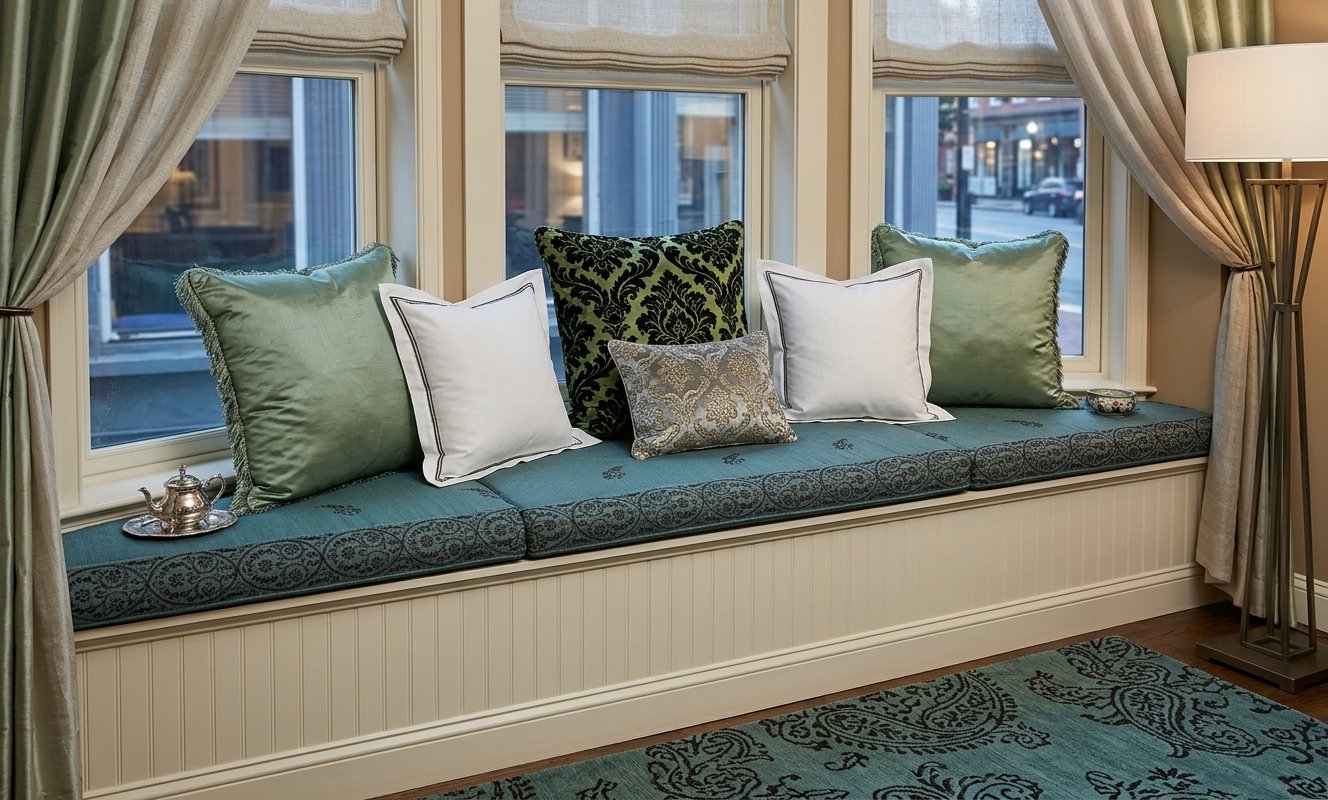
Pillows turn a cushion into a lounge. The formula: two large squares at the back for leaning, two medium in front, one small lumbar or textured accent. Keep everything in one color family so it reads as curated, not chaotic. And leave actual sitting room, a window seat buried under twelve pillows is a display, not a seat. A folded throw over one arm finishes the look and waits for chilly evenings.
8. Build a Reading Corner Around It
A cushion alone is nice; a reading nook is irresistible. Add a wall-mounted reading light or a small table lamp nearby, because squinting ruins the vibe. A little side table or even a wide windowsill holds the book-and-tea essentials. This is where your window seat earns its keep: a dedicated escape that costs almost nothing extra. Angle a pillow for back support and congratulations, you’ve built the most fought-over spot in the house.
9. Measure Twice for Built-In Benches
Built-ins are the dream canvas for a custom cushion because you can match them exactly, but ‘exactly’ is doing a lot of work in that sentence. Measure the full seating surface at three points along the length; old houses are never square. Note any trim, hinges, or lids that need clearance. Slightly rounded front corners look softer and more furniture-like than sharp squares. Take your time here: every measuring mistake becomes a visible gap.
10. Make the Cover Washable, Always
Whatever method you choose, make the cover removable. Window seats collect dust, sun, pet hair, and the occasional spilled tea. A zipper along the back edge is the cleanest solution; envelope closures work too. Pre-wash your fabric before cutting to dodge shrinkage surprises later. Being able to throw the cover in the wash whenever it needs it is what keeps your beautiful cushion looking beautiful in year three, not just week one.
11. Go Neutral and Timeless
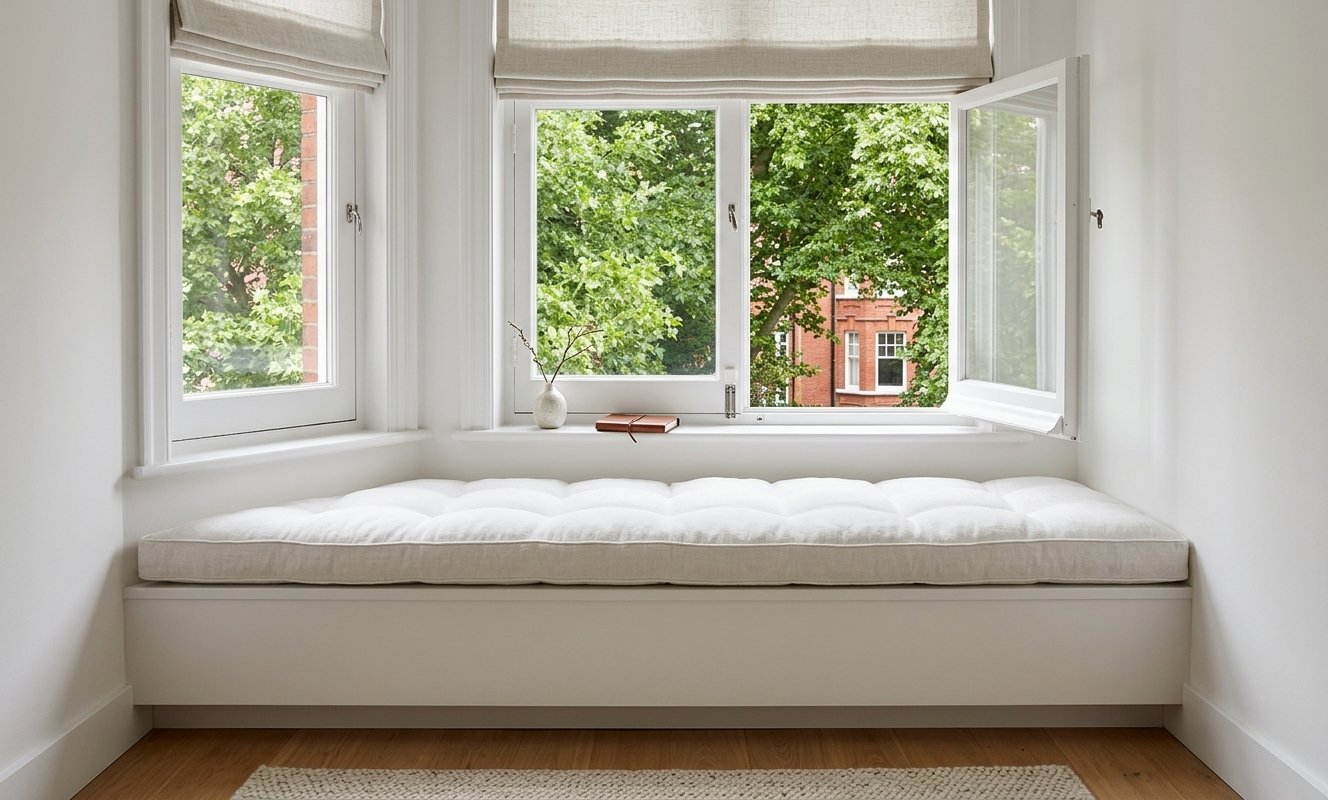
Trendy patterns date fast; neutrals don’t. Cream, warm beige, soft grey, natural linen tones, these make your window seat feel calm and expensive, and they play nicely with whatever the seasons bring. Get your personality from texture instead: nubby boucle, washed linen, a subtle stripe. If you crave color, add it in the throw pillows, which are cheap to swap when tastes change. Your future self will thank you.
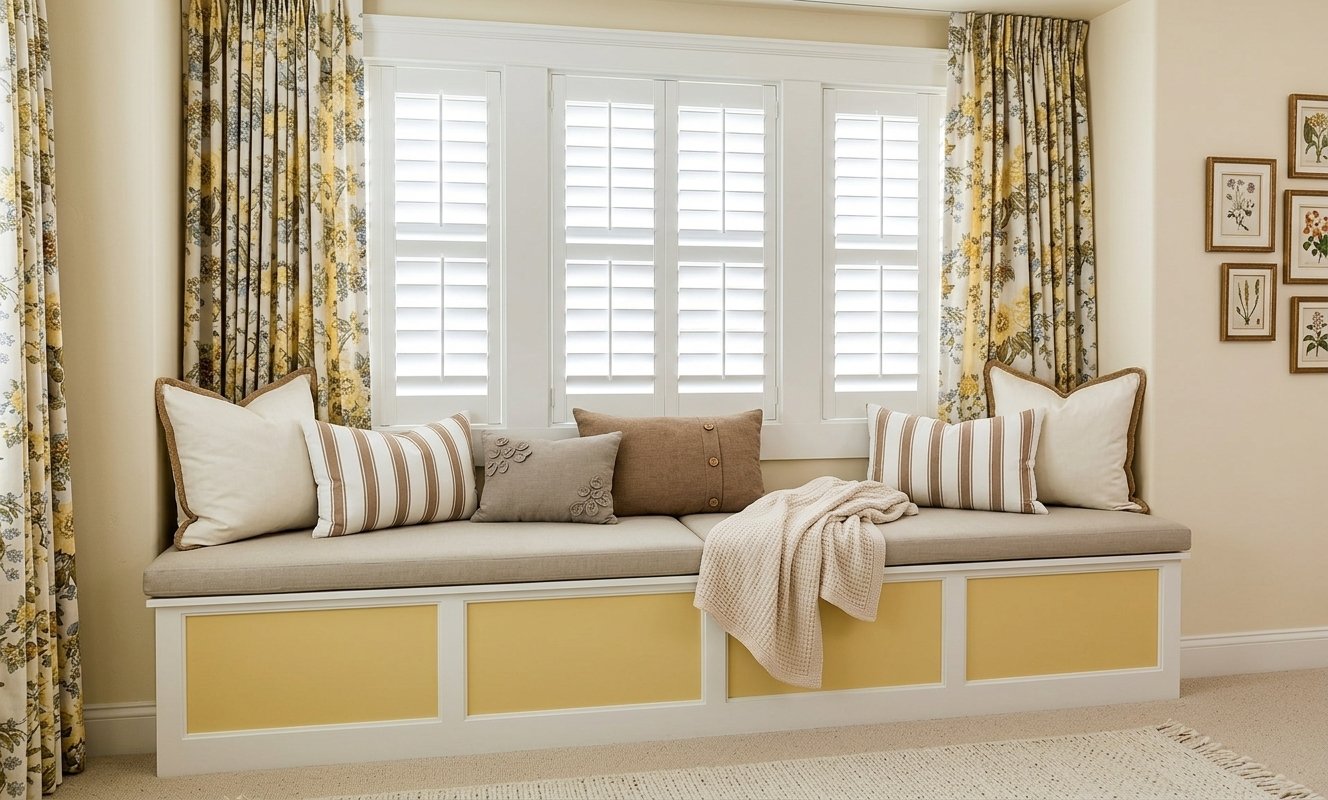
12. Finish Like a Pro
The last 10% is what people notice. Keep seams straight and corners crisp. Make sure the cushion fills the bench fully, gaps scream homemade. If you can manage it, add piping along the edges; it’s the single detail that most says ‘custom upholstery.’ Step back and squint at your work from across the room. Plump, even, intentional? Then step back and enjoy the best seat in the house, the one you made yourself.
A DIY window seat cushion is proof that the best projects are the simple ones. Good foam, honest measurements, fabric you love, that’s really the whole recipe. Style it with pillows and a throw, add a little light, and that ignored ledge becomes the spot everyone gravitates to. Now go measure your bench. I’ll wait.