
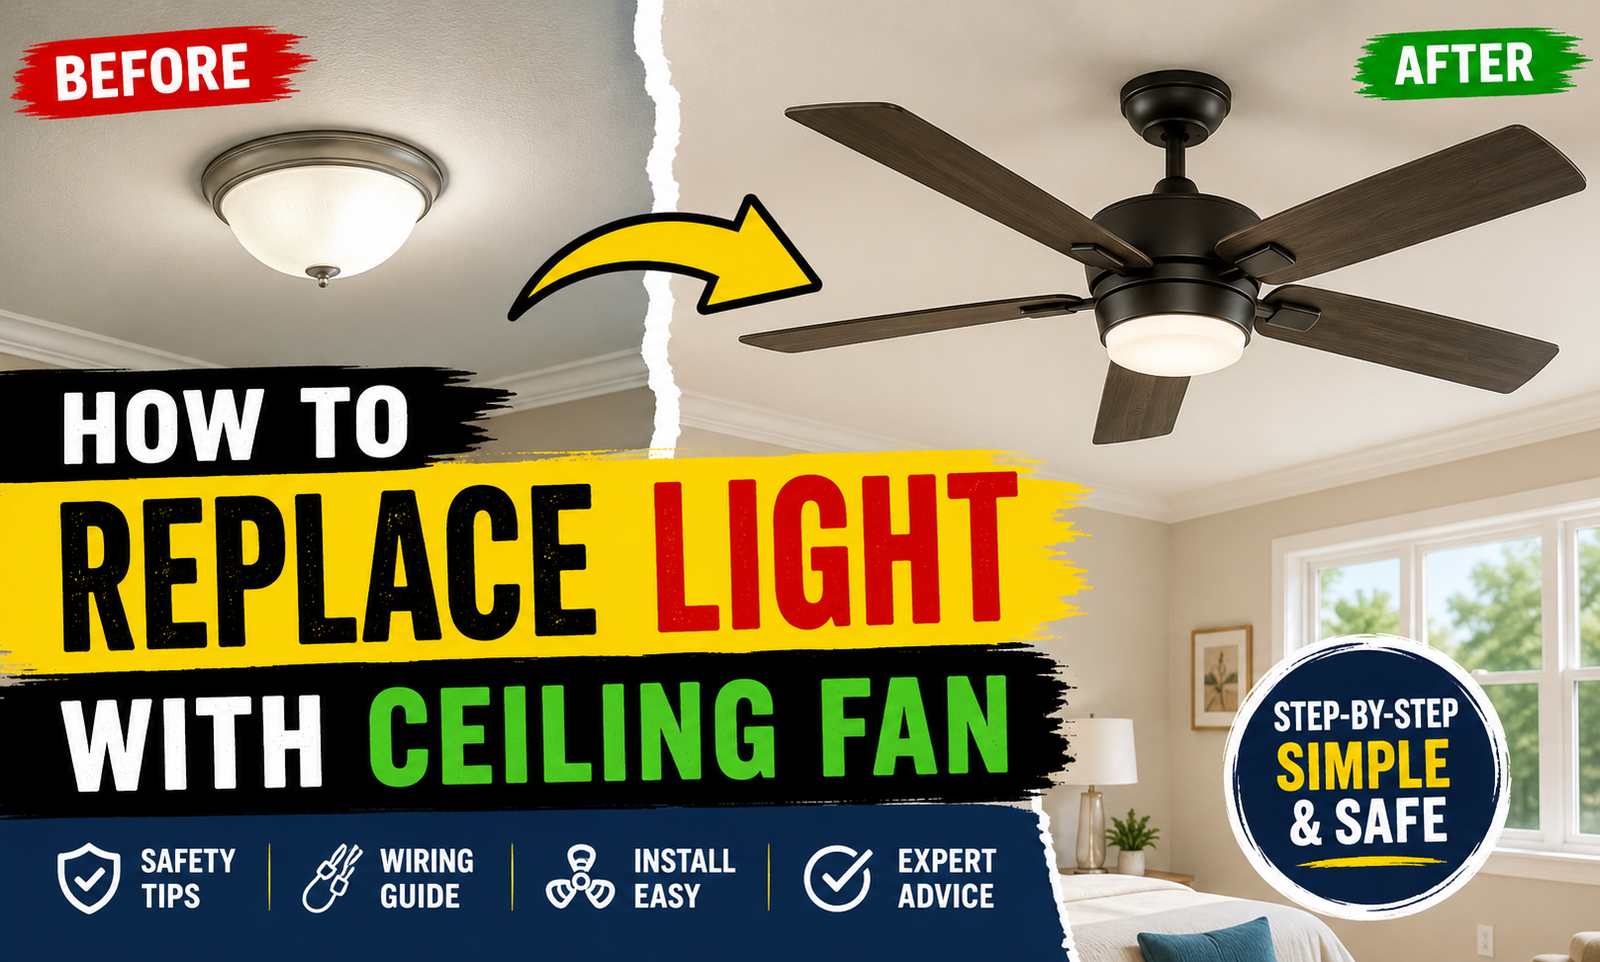
How to replace light with ceiling fan is a smart way to improve both comfort and airflow without adding another fixture to your ceiling. Replacing an existing light fixture can create a cleaner look while giving your room the cooling benefits of a ceiling fan. However, the process involves more than simply removing the old light and attaching a fan. You need to check the electrical box, wiring, mounting support, fan size, and installation requirements before getting started. With the right preparation and careful approach, you can transform an ordinary ceiling light location into a practical and stylish ceiling fan installation.
Replace a Light With a Ceiling Fan for Better Comfort
To replace a light with a ceiling fan, you need to consider more than simply removing the existing fixture and attaching a new one. A ceiling fan is heavier and creates movement, so it requires a properly rated electrical box and secure mounting. The existing wiring may also need to accommodate the fan and its light kit or controls. Before beginning, turn off power at the circuit breaker and verify that the circuit is actually de-energized. If the wiring or ceiling structure is unfamiliar, hiring a qualified electrician is the safest option. With the right preparation, a simple light location can become a stylish and useful cooling feature.
Check the Existing Ceiling Box First
Before you replace a light with a ceiling fan, inspect the existing electrical box and its mounting. Standard light-fixture boxes are not necessarily designed to support the weight and movement of a ceiling fan. Look for a fan-rated electrical box or have an appropriate support system installed. The box must be securely attached to the ceiling structure rather than relying only on drywall. This is one of the most important safety considerations in the entire project. Never assume an existing light box is strong enough simply because it supported a light fixture.
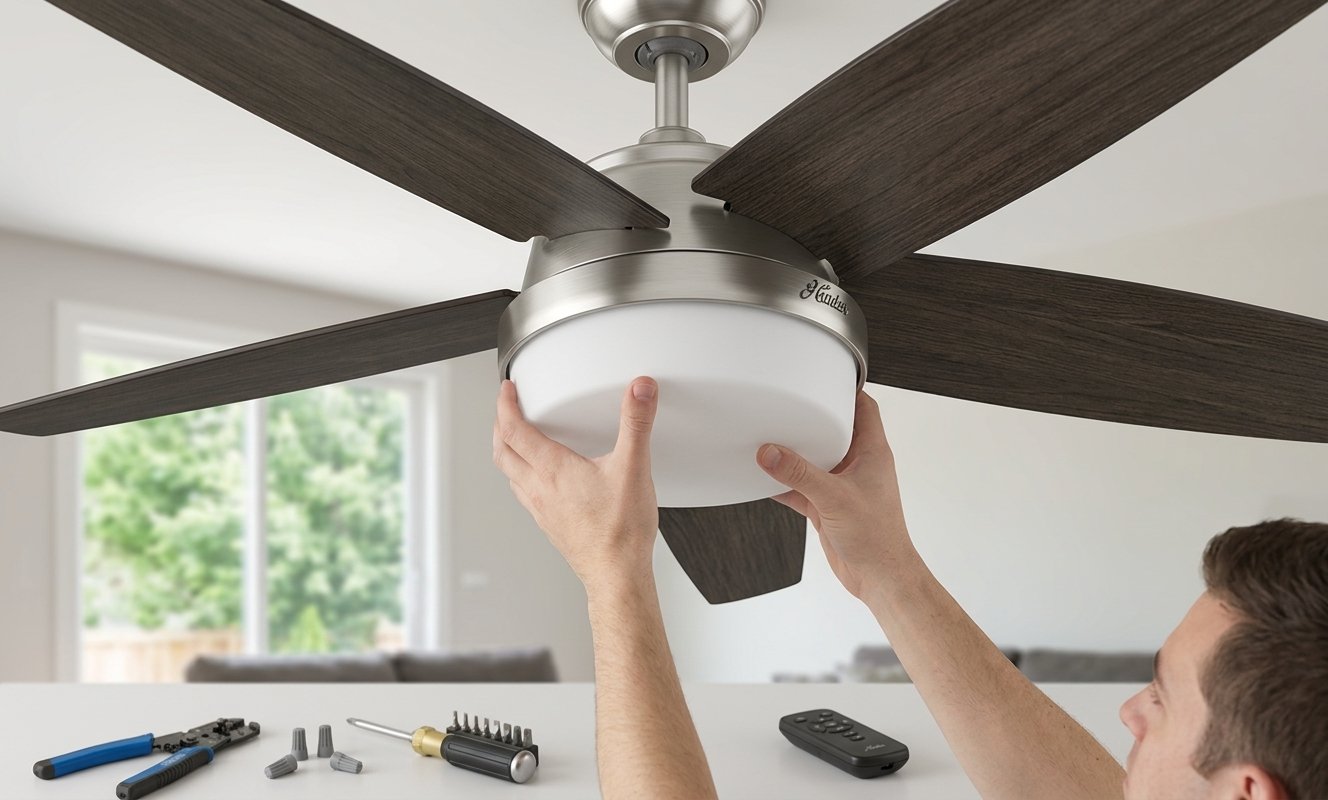
Turn Off Power Before You Replace a Light With a Ceiling Fan
Safety should come first whenever you replace a light with a ceiling fan. Switch off the correct circuit breaker and use a reliable voltage tester to confirm that no electricity is present at the fixture. Do not rely only on the wall switch because wiring can be configured in different ways. Keep the breaker off while working and make sure everyone in the household knows that electrical work is underway. If you are uncertain about identifying the correct circuit, stop and seek professional assistance. Electrical safety is more important than completing the project quickly.
Choose the Right Ceiling Fan Size
When you replace a light with a ceiling fan, choose a fan that suits the dimensions and layout of the room. An oversized fan can dominate a compact space, while a very small fan may not provide the airflow you need. Consider the room’s square footage, ceiling height, furniture arrangement, and desired airflow. Low-profile fans can work well in rooms with limited ceiling height. Larger rooms may benefit from wider blades and stronger airflow. Selecting the correct size will make the finished installation both more comfortable and visually balanced.
Measure the Ceiling Height
Before you replace a light with a ceiling fan, measure the distance between the floor and ceiling. Ceiling height affects which fan style and downrod length will work best. In rooms with standard or lower ceilings, a flush or low-profile fan can help maintain comfortable head clearance. Higher ceilings may require an appropriately sized downrod to position the fan effectively. Always follow the manufacturer’s clearance recommendations. Proper placement improves both safety and airflow.
Prepare the Wiring for the New Fan
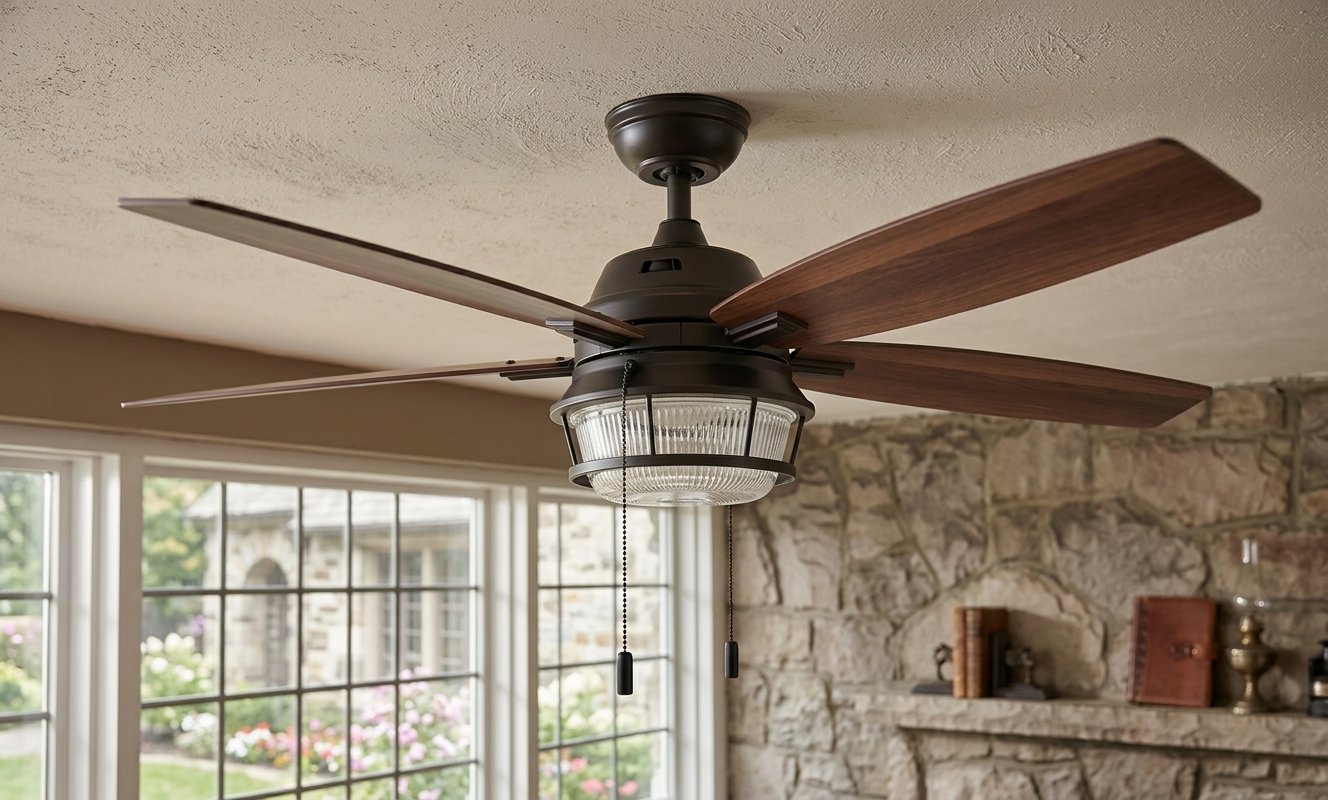
Electrical connections should be handled carefully when you replace a light with a ceiling fan. Depending on the existing wiring and the type of fan you purchase, you may need connections for the motor, light kit, neutral wire, ground, or separate controls. Do not guess which wires perform which functions. Follow the fan manufacturer’s instructions and local electrical requirements. If the existing wiring does not match the installation requirements, contact a qualified electrician. Correct wiring is essential for safe and reliable operation.
Select a Ceiling Fan With an Integrated Light
A ceiling fan with an integrated light can be an excellent replacement when you want to maintain overhead illumination. Choose a design with a light that provides enough brightness for the room without creating harsh glare. Warm-toned lighting can create a comfortable atmosphere in bedrooms and living rooms. Look for dimmable options if your electrical setup and controls support them. A combined fan-and-light fixture can provide two functions while occupying the same ceiling location.
Secure the Fan Mount Properly
One of the most important steps when you replace a light with a ceiling fan is creating a secure mounting point. The fan should be attached according to the manufacturer’s instructions using an approved support system. The mounting hardware needs to handle the fan’s weight and vibration during operation. Never improvise with unsuitable hardware or attach a heavy fan directly to weak drywall. If the existing ceiling structure cannot support the fan, professional installation may be necessary.
Balance the Fan Blades After Installation
A properly installed ceiling fan should operate smoothly without excessive wobbling. If the fan shakes after you replace a light with a ceiling fan, check that the blades are correctly attached and evenly positioned. Many fans include balancing clips or weights that can help correct minor movement. Also make sure the mounting hardware is secure. Persistent wobbling can indicate an installation or support issue that should not be ignored. A stable fan will operate more quietly and comfortably.
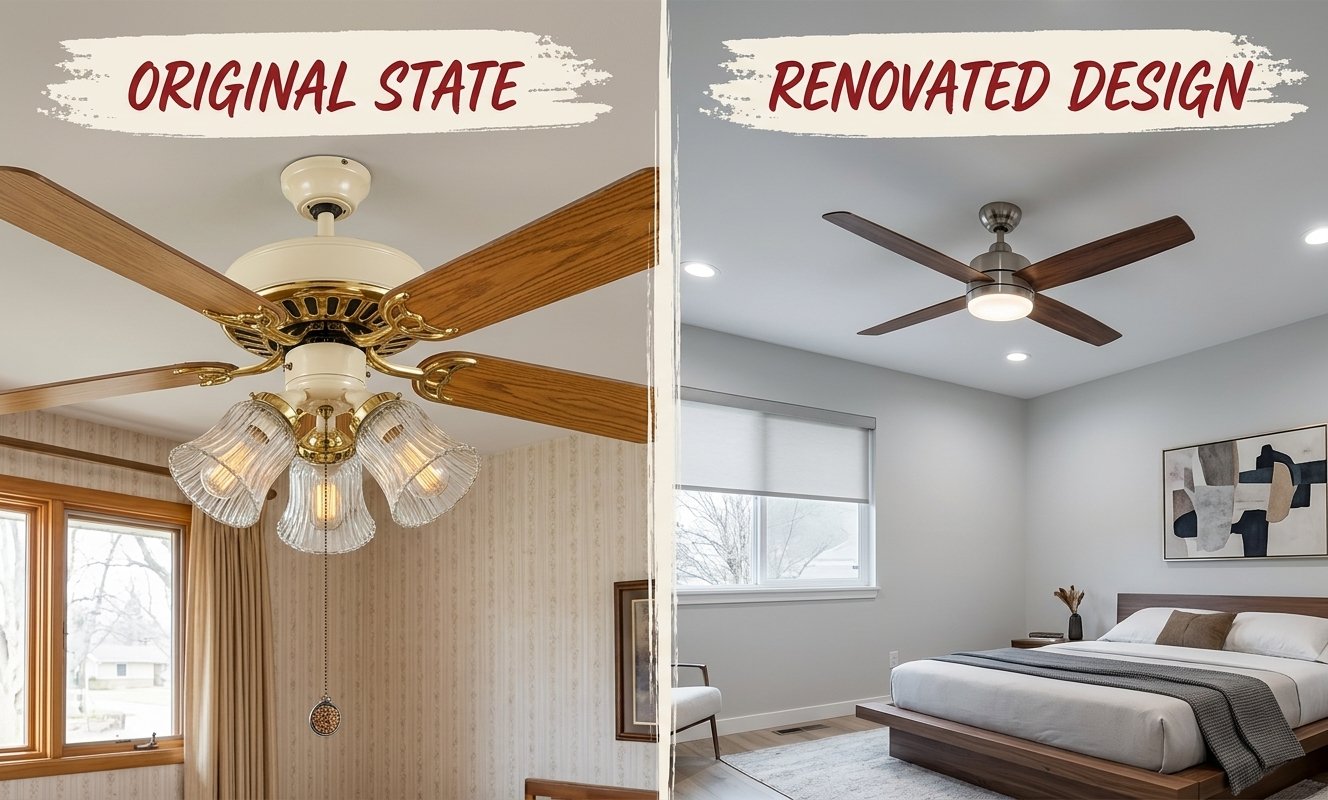
Choose Stylish Finishes for Your Room
Replacing a light with a ceiling fan does not mean sacrificing your interior style. Modern fans are available in finishes such as matte black, brushed brass, walnut, white, bronze, and natural wood. Choose a finish that coordinates with existing lighting, furniture, hardware, and architectural details. A black fan can create a dramatic modern accent, while warm wood can complement neutral interiors. For a more luxurious room, subtle brass details can add visual interest. Treat the ceiling fan as part of the room’s overall design rather than simply a functional appliance.
Consider Remote and Wall Controls
Modern ceiling fans often provide convenient control options that can make everyday use easier. Depending on the model, you may be able to control fan speed, lighting, direction, and other settings from a remote or compatible wall control. Consider where you want the controls located before installation. If you want separate control of the fan and light, make sure the wiring and selected control system support that configuration. Following the manufacturer’s compatibility requirements will help avoid unnecessary complications.
Improve the Room With the Right Fan Direction
Once you replace a light with a ceiling fan, using the correct direction can improve comfort throughout the year. Many ceiling fans are designed to rotate in different directions depending on the season and desired airflow. In warmer conditions, the goal is generally to create a comfortable downward airflow. During cooler periods, the appropriate setting can help circulate warm air that collects near the ceiling. Check your fan’s instructions for the recommended direction and settings for your specific model.
Keep the Ceiling Fan Proportionate
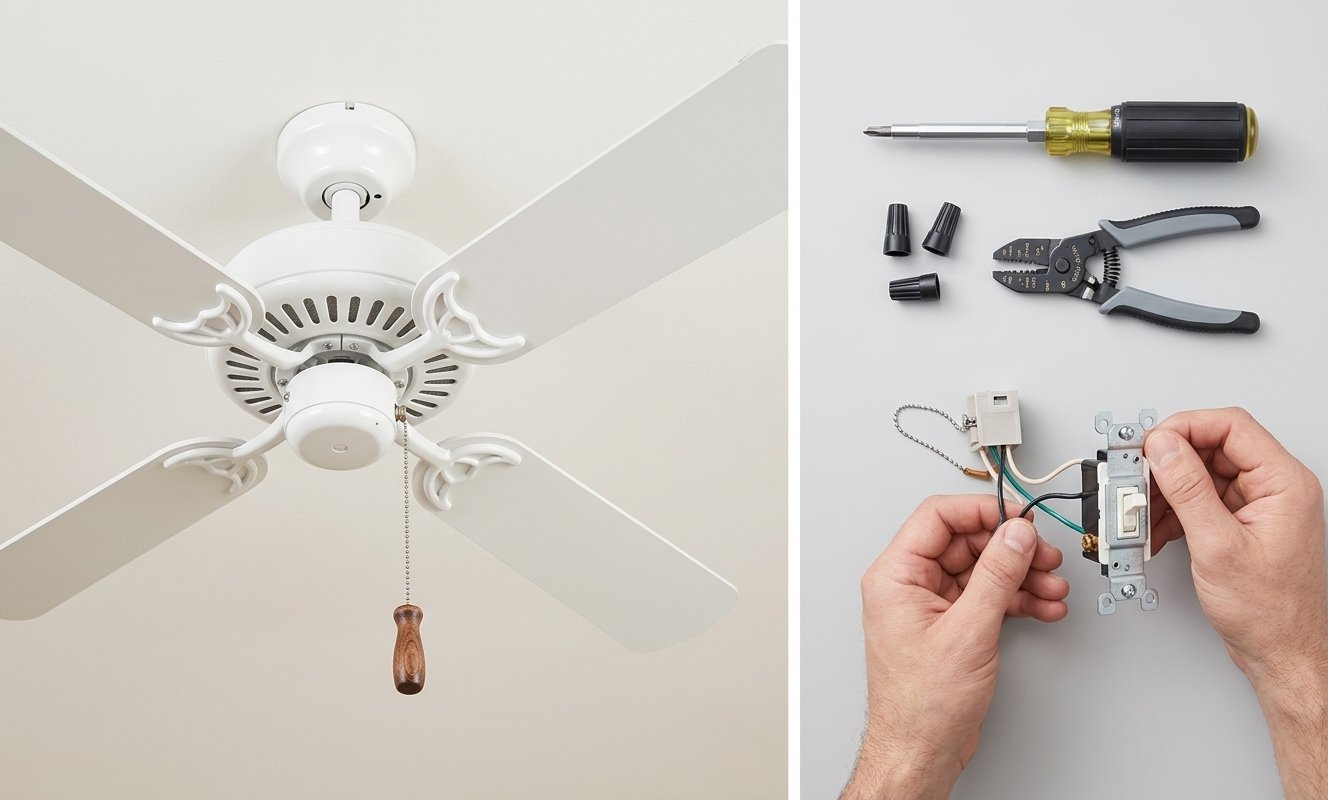
A beautiful ceiling fan can still look wrong if it is too large or too small for the room. When you replace a light with a ceiling fan, consider the visual scale of the furniture below it. The fan should feel proportional to the room rather than competing with major architectural features. Keep enough open space around the blades and follow recommended clearances from walls and other objects. Good proportions make the installation look intentional and professionally designed.
Finish the Installation With a Clean Look
After you replace a light with a ceiling fan, inspect the surrounding ceiling and fixture area for a polished finish. Make sure the canopy sits properly against the ceiling and that visible wires or gaps are not present. Remove packaging materials and clean fingerprints from the fan housing and blades. Turn the power back on only after all connections and components have been secured according to the instructions. Test the fan at different speeds and check the light if your model includes one. A clean final inspection helps ensure the finished result looks as good as it performs.
Know When to Call an Electrician
Although some homeowners may be comfortable with basic fixture replacement, electrical work can become complicated quickly. If you discover damaged wiring, missing grounding, unusual electrical connections, an unsuitable ceiling box, or structural concerns, stop the project. A qualified electrician can evaluate the existing setup and install the necessary support and wiring correctly. Professional help is especially important when local codes or permits apply. Saving time or money is never worth compromising electrical or structural safety.
Final Tips to Replace a Light With a Ceiling Fan
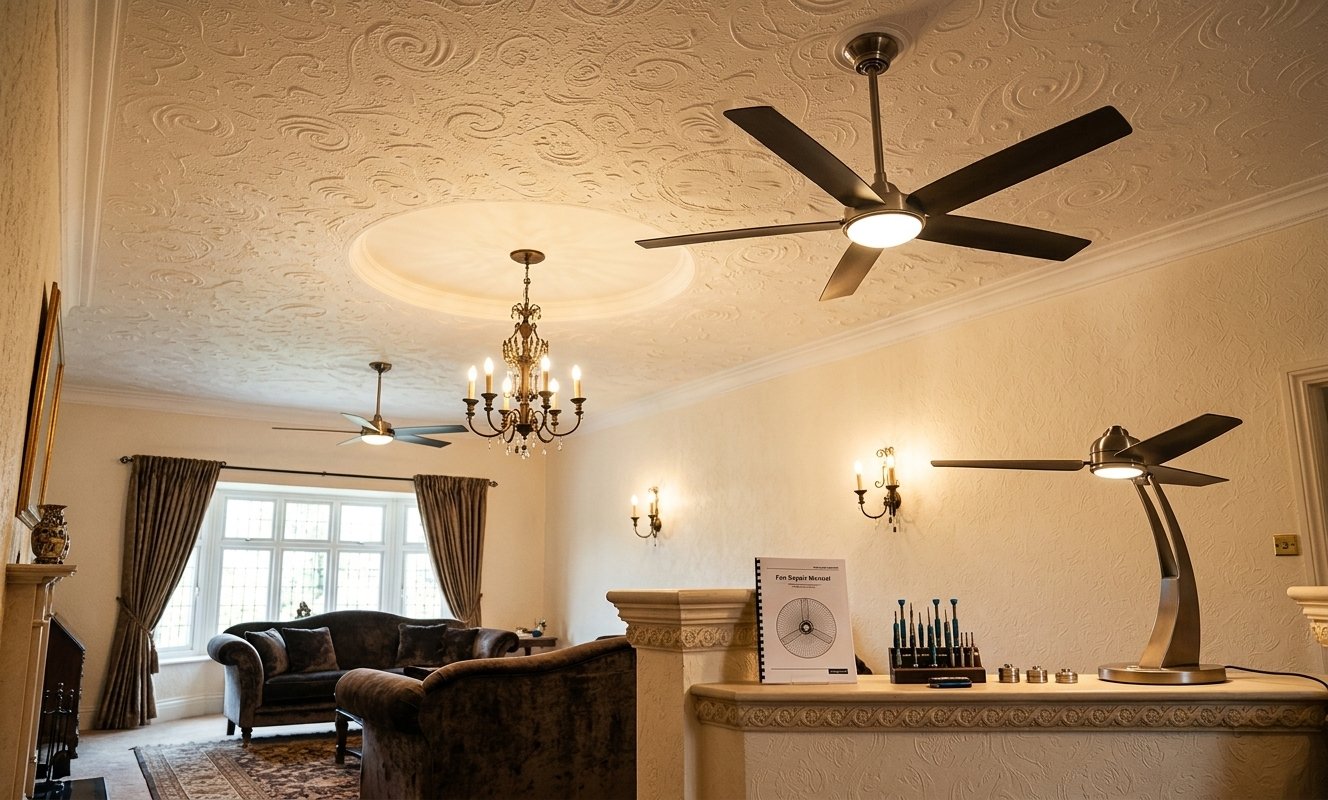
To replace a light with a ceiling fan successfully, start with safety, proper support, compatible wiring, and the correct fan size. Choose a design that complements your room while providing the airflow and lighting you actually need. Never attach a fan to an electrical box that is not rated for fan support, and do not guess when dealing with electrical connections. Test the finished installation carefully and address any unusual movement or noise. With thoughtful planning and proper installation, a ceiling fan can turn an ordinary light location into a stylish and highly functional feature.


One thought on “15 Expert Tips to Replace a Light With a Ceiling Fan ”